Search the Collection

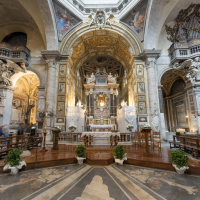
Interior: Main altar

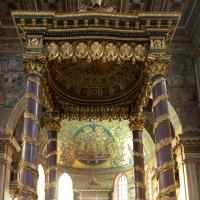
Interior: Upper view of main altar

Interior: Main altar

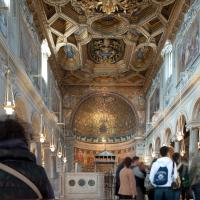
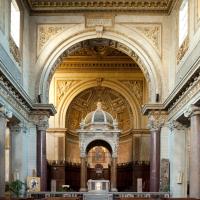
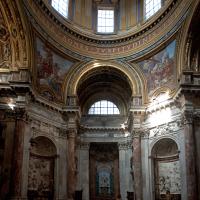
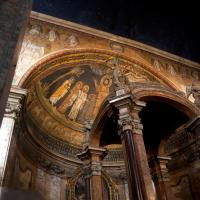
Interior: Main altar looking toward dome with inscription

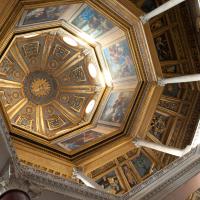
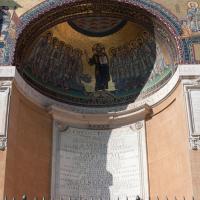
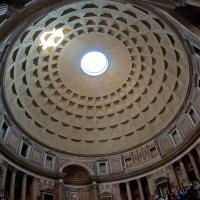
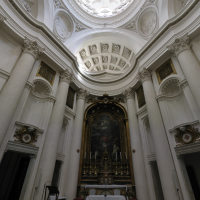
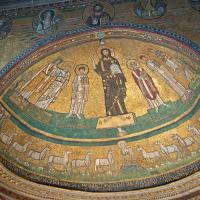
Interior: Main altar dome

Interior: Detail of dome fresco

Interior: Detail of dome fresco

Interior: Detail of main altar ceiling

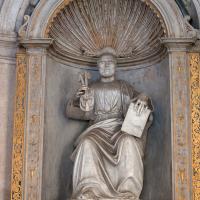
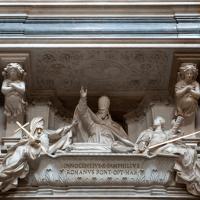
Interior: Detail of main altar sculpture

Interior: Detail of Shrine of Saint Agnes

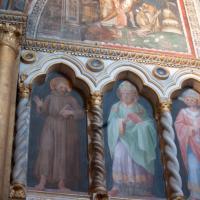
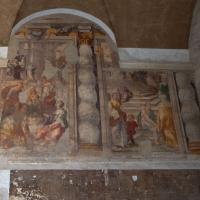
Interior: Detail of painting above shrine

Interior: Main altar dome

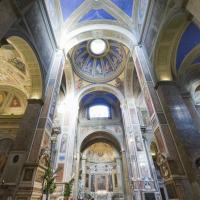
Interior: Main altar looking toward dome

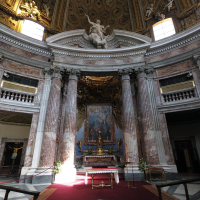
Interior: Main altar

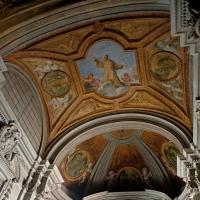
Interior: Gilded vault before main altar and dome

Interior: Gilded vault before main altar

Interior: Left arm of Chapel of Saint Sebastian, view of decoration above altar

Interior: View of Saint Sebastian sculpture on left hand arm of chapel

Interior: View of organ inserted in barrel vault above the Tomb of Pope Innocent X

Interior: View of Chapel of Saint Agnes on right hand arm of church

Interior: View of vault ceiling above Saint Agnes sculpture

Interior: View of entrance to the narthex, church organ, and Tomb of Pope Innocent X

Interior: View of entrance to the narthex, church organ, and Tomb of Pope Innocent X

Interior: Left hand entrance to the narthex

Interior: Right hand entrance to the narthex

Interior: Right hand entrance to the narthex and Tomb of Pope Innocent X

Interior: View of entrance to the narthex, church organ, and Tomb of Pope Innocent X

Interior: Detail of Chapel of Saint Agnes

Interior: Detail of Chapel of Saint Agnes

Interior: Detail of Chapel of Saint Agnes altar framing

Interior: Detail of Chapel of Saint Agnes marble decoration

Interior: Detail of Chapel of Saint Agnes marble decoration fleur-de-lys

Interior: Detail of Chapel of Saint Agnes marble decoration dove holding olive leaf

Interior: Detail of altar

Interior: Detail of altar relief sculpture

Interior: Detail of main altar relief sculpture

Interior: Detail of main altar frame

Interior: Detail of chapel altar relief sculpture

Interior: Detail of Chapel of Saint Sebastian

Interior: Detail of Chapel of Saint Sebastian altar

Interior: Detail of chapel altar relief sculpture

Interior: Detail of chapel altar relief sculpture

Interior: Detail of dome fresco

Interior: Main altar

Interior: Detail of main altar relief sculpture

Interior: Detail of chapel altar relief sculpture

Interior: Detail of Chapel of Saint Eustace altar relief sculpture

Interior: Detail of Chapel of Saint Alexis altar relief sculpture
")
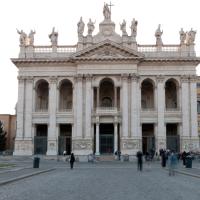
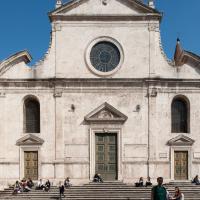
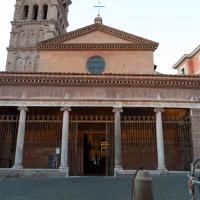
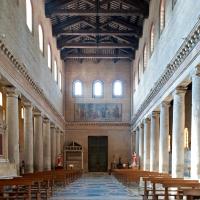
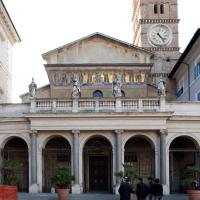
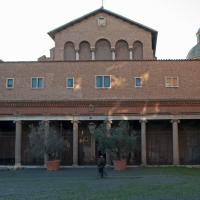
Interior: View from East (entrance)

Interior: Center

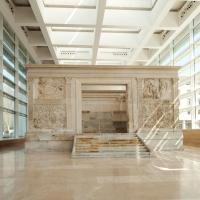
Interior: View of Main Altar

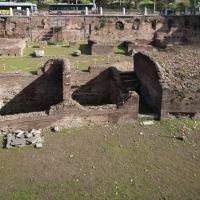
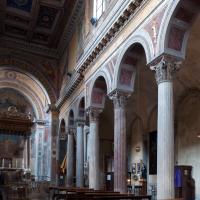
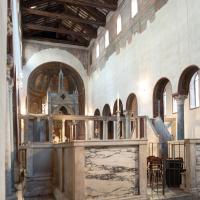
Interior: View from South

Interior: View of Borromini Sacristy

Interior: View of Museum Gallery

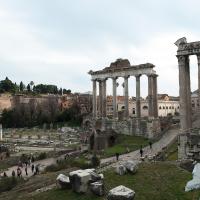
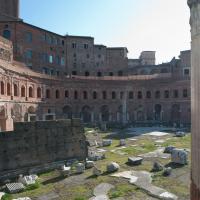
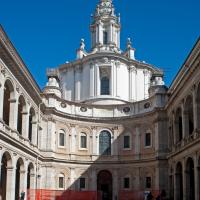
Exterior: View of Via Biberatica

Exterior: Overlooking Via Biberatica

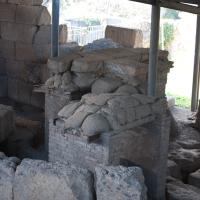
Interior: View of Central Hall

Interior: View of Central Hall

Interior: View of Room off Central Hall

Interior: View of Room off Central Hall

Interior: View of Room off Central Hall

Interior: View of Room off Central Hall

Interior: View of Room off Central Hall

Exterior: View onto Via Biberatica and First-floor Shops

Exterior: View of Via Biberatica

Exterior: View of Via Biberatica and First-Floor Shops

Exterior: View of Via Biberatica and First-Floor Shops

Exterior: View of Via Biberatica

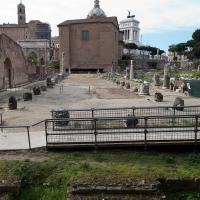
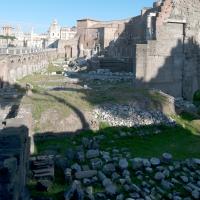
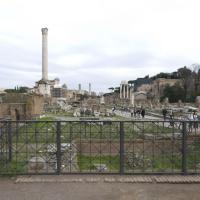
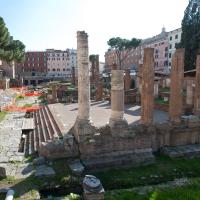
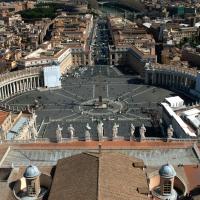
Exterior: View Overlooking Imperial Fora

Exterior: View onto Via Biberatica

Exterior: View onto Via Biberatica

Exterior: View to Millizie Tower

Exterior: View to Millizie Tower

Exterior: View to Millizie Tower

Exterior: View of Via delle Torre

Exterior: View of Milizie Tower

Exterior: View of Milizie Tower

Exterior: View of Milizie Tower

Exterior: View of Milizie Garden

Exterior: View of Stairs to Via delle Torre

Interior: View of Milizie Tower

Interior: View of Museum

Interior: View of Museum
")
Interior: View of Museum (vaulted room)

Interior: View of Museum

Interior: View of Museum

Interior: View of Museum

Interior: View of Museum

Interior: View of Museum

Interior: View of Museum

Interior: View of Museum

Interior: View of Museum

Interior: View of Museum

Interior: View of Museum

Interior: View of Museum / Main Hall

Interior: View of Museum / Main Hall

Interior: View of Central Hall

Interior: View of Central Hall
")
Interior: View of Central Hall (North end)
")
Interior: View of Central Hall (North end)

Interior: View of Museum

Interior: View of Museum

Interior: View of Museum

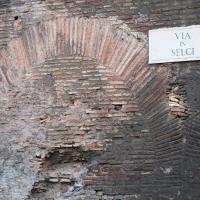
Exterior: View of a brickwork arch in Trajan's Market

Exterior: View of the underside of a brickwork arch in Trajan's Market

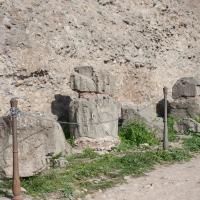
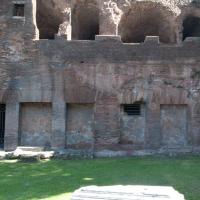
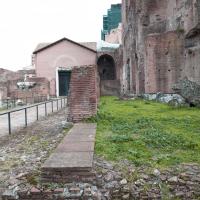
Exterior: View of an niche of opus latericium in the Milizie Garden of Trajan's Market

Exterior: View of an arch and niche of opus latericium in the Milizie Garden of Trajan's Market

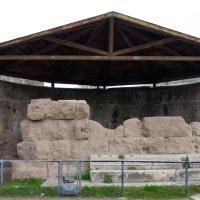
Exterior: View of Sculpture Installation in Trajan's Market

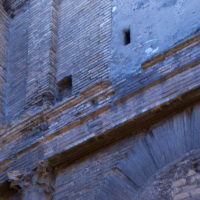
Interior: View of the top of a doorway in Trajan's Market

Interior: View of a doorway in Trajan's Market

Interior: View of opus spicatum flooring in Trajan's Market

Interior: View of a wall of opus latericium with small niches in Trajan's Market

Interior: View of two terracotta fragments in Trajan's Market

Exterior: View of windows in Trajan's Market from the via Biberatica

Exterior: View of an arch and drainpipe in Trajan's Market from the via Biberatica

Exterior: View of an arch in Trajan's Market from the via Biberatica

Exterior: View of Windows and an Arch in Trajan's Market from the via Biberatica

Exterior: View of a Medieval Window in Trajan's Market from the via Biberatica

Exterior: View of an Arch and Niche in Trajan's Market

Exterior: View of Brickwork in Trajan's Market

Exterior: View of Arches and Terracing in Trajan's Market from the via Biberatica

Exterior: View of Arches and Terracing in Trajan's Market from the via Biberatica

Exterior: View of Arch and a Doorway in Trajan's Market

Exterior: View of Arch and a Doorway in Trajan's Market from via Biberatica

Exterior: View of Arches through a Doorway in Trajan's Market

Exterior: View of Arches through a Doorway in Trajan's Market

Exterior: View of an Arch in Trajan's Market

Exterior: View of Brickwork in Trajan's Market

Exterior: View of an Arch in Trajan's Market

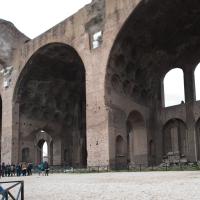
Interior: View of Vaulting inside Trajan's Market

Interior: View of Vaulting and Doorways inside Trajan's Market

Exterior: View of Arches and Windows in Trajan's Market from via Biberatica

Exterior: View of Arches in Trajan's Market from via Biberatica

Exterior: View of Arches and Windows in Trajan's Market from via Biberatica

Exterior: View of Arches in Trajan's Market

View of Statue Installation

View of Statue Installation

View of Statue Installation

View of Statue Installation

View of Statue Installation

View of Statue Installation

View of Statue Installation

View of Statue Installation

View of Statue Installation

View of Statue Installation

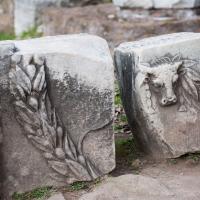
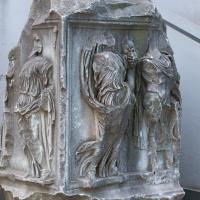
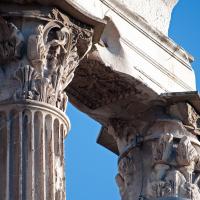
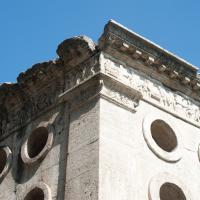
Carved Entablature

Detail: Caryatid

Detail: Caryatid

Detail: Caryatid

Reconstruction: Head of Zeus Ammon

Reconstruction: Head of Zeus Ammon

Reconstruction: Head of Zeus Ammon

Reconstruction

Reconstruction: Caryatid

Reconstruction: Head of Zeus Ammon and Shield

Reconstruction: Head of Zeus Ammon

Reconstruction: Head of Zeus Ammon

Reconstruction

View of Sculpture Installation

Detail: View of Sculpture Installation

Detail: View of Sculpture Installation

Detail: View of Sculpture Installation

Detail: View of Sculpture Installation

Detail: View of Sculpture Installation

Detail: View of Sculpture Installation

View of Statue Installation

View of Statue Installation

View of Statue Installation

View of Statue Installation

View of Statue Installation

View of Statue Installation

View of Statue Installation

View of Statue Installation

View of Statue Installation

Detail: View of Sculpture Installation

Detail: View of Sculpture Installation

Detail: View of Sculpture Installation

Detail: View of Sculpture Installation

View of Sculpture Installation

View of Sculpture Installation

View of Sculpture Installation

View of Sculpture Installation

Detail: View of Sculpture Installation

View of Sculpture Installation

Detail: View of Sculpture Installation

Detail: View of Sculpture Installation

Detail: View of Sculpture Installation

View of Sculpture Installation

View of Sculpture Installation

View of Sculpture Installation

Detail: Striding Draped Figure