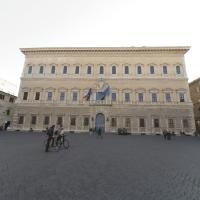
Search the Collection

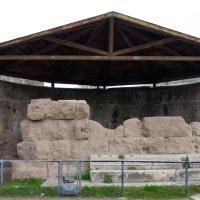
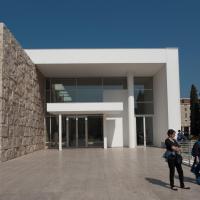
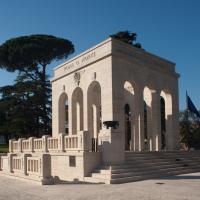
View of the front of the Ara Pacis

View of the southwest corner of the Ara Pacis

View of the southwest corner of the Ara Pacis

View of the western face of the Ara Pacis showing the Imperial Family procession

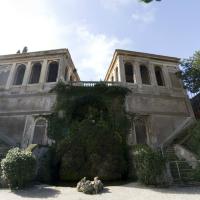
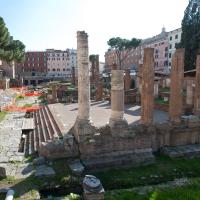
View of the northwest corner of the Ara Pacis

View of the Tellus Panel of the Ara Pacis

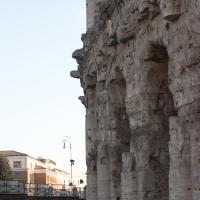
View of the northeast corner of the Ara Pacis

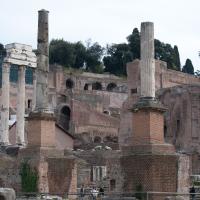
View of the eastern face of the Ara Pacis

View of the eastern face of the Ara Pacis

View of the eastern face of the Ara Pacis

View into the enclosure of the Ara Pacis from the north

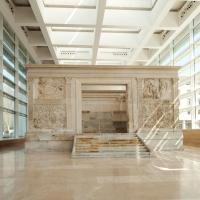
View inside the enclosure of the Ara Pacis

View inside the enclosure of the Ara Pacis

View inside the enclosure of the Ara Pacis

View inside the enclosure of the Ara Pacis

View inside the enclosure of the Ara Pacis

View inside the enclosure of the Ara Pacis

View inside the enclosure of the Ara Pacis

View of the northern face of the Ara Pacis

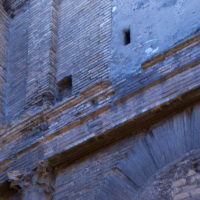
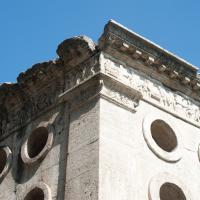
Detail of vegetal carving on the Ara Pacis

Detail of vegetal carving on the Ara Pacis

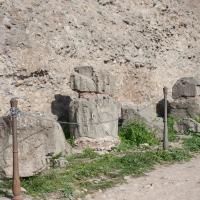
Detail of fragments of the Imperial procession on the Ara Pacis

Detail of fragments of the Imperial procession on the Ara Pacis

Detail of the Tellus Panel on the Ara Pacis

Detail of the Tellus Panel on the Ara Pacis

Detail of vegetal carving on the Ara Pacis

Detail of a fragment of a figure on the Ara Pacis

View inside the enclosure of the Ara Pacis

View inside the enclosure of the Ara Pacis

View inside the enclosure of the Ara Pacis

Detail of a griffin inside the enclosure of the Ara Pacis

Detail of a griffin inside the enclosure of the Ara Pacis

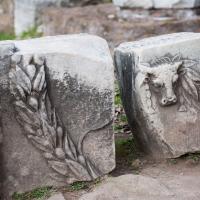
Detail of a garland inside the enclosure of the Ara Pacis

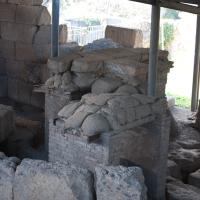
Detail of the altar inside the enclosure of the Ara Pacis

Detail of the frieze of the altar inside the enclosure of the Ara Pacis

Detail of the frieze of the altar inside the enclosure of the Ara Pacis

Detail of the frieze of the altar inside the enclosure of the Ara Pacis

Detail of the altar inside the enclosure of the Ara Pacis

Detail of the altar inside the enclosure of the Ara Pacis

Detail of a griffin inside the enclosure of the Ara Pacis

Detail of a griffin inside the enclosure of the Ara Pacis

Detail of the altar inside the enclosure of the Ara Pacis

Detail of the altar inside the enclosure of the Ara Pacis

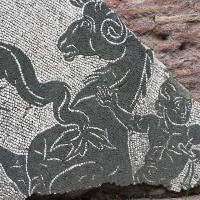
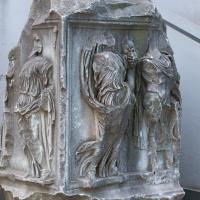
Detail of the Lupercal Panel of the Ara Pacis

Detail of the Lupercal Panel of the Ara Pacis

Detail of vegetal carving on the Ara Pacis

Detail of vegetal carving on the Ara Pacis

Detail of the Imperial Family procession on the Ara Pacis

Detail of the Imperial Family procession on the Ara Pacis

Detail of the Imperial Family procession on the Ara Pacis

Detail of the Imperial Family procession on the Ara Pacis

Detail of the Imperial Family procession on the Ara Pacis

Detail of vegetal carving on the Ara Pacis

Detail of vegetal carving on the Ara Pacis

Detail of vegetal carving on the Ara Pacis

Detail of vegetal carving on the Ara Pacis

Detail of vegetal carving on the Ara Pacis

Detail of vegetal carving on the Ara Pacis

Detail of the Imperial Family procession on the Ara Pacis

Detail of the Imperial Family procession on the Ara Pacis

Detail of the Imperial Family procession on the Ara Pacis

Detail of the Imperial Family procession on the Ara Pacis

Detail of the Imperial Family procession on the Ara Pacis

Detail of vegetal carving on the Ara Pacis

Detail of vegetal carving on the Ara Pacis

Detail of vegetal carving on the Ara Pacis

Detail of vegetal carving on the Ara Pacis

Detail of the Imperial Family procession on the Ara Pacis

Detail of vegetal carving on the Ara Pacis

Detail of vegetal carving on the Ara Pacis

Detail of vegetal carving on the Ara Pacis

Detail of vegetal carving on the Ara Pacis

Detail of vegetal carving on the Ara Pacis

Detail of vegetal carving on the Ara Pacis

Detail of Tellus Panel on the Ara Pacis

Detail of Tellus Panel on the Ara Pacis

Detail of Tellus Panel on the Ara Pacis

Detail of vegetal carving on the Ara Pacis

View of the western face of the Ara Pacis

Interior: View of Crossing

Interior: View of Nave

Interior: View of Nave

Interior: View of Chapel of the Crucifix

Interior: View of Side Chapel

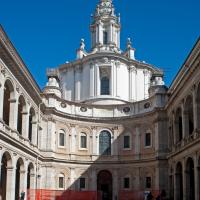
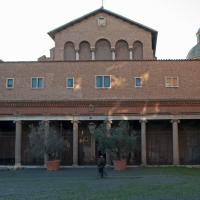
Exterior: View of Courtyard

Exterior: View of Passageway

Exterior: View of side entrance

Interior: View of Chapel of Saint Zeno

Interior: View of Chapel of Saint Zeno

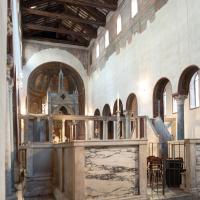
Interior: View of Crypt

Interior: View of Crypt

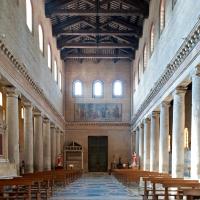
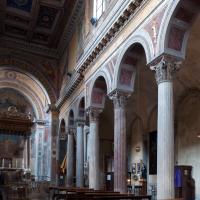
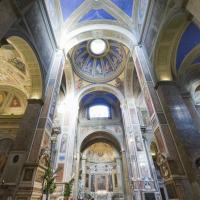
View of the nave of Santa Prassede looking towards the entrance

View of the nave of Santa Prassede looking towards the entrance

View of the nave of Santa Prassede looking towards the entrance

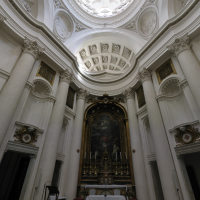
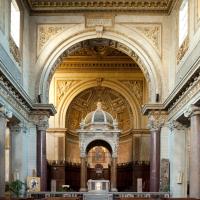
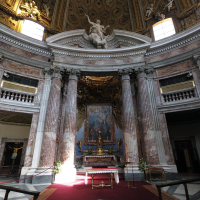
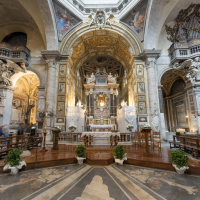
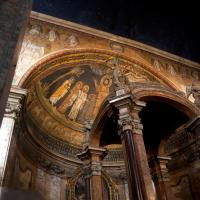
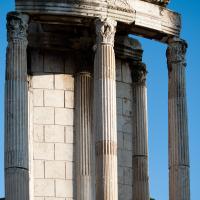
View of the apse and baldachin of Santa Prassede

View of the apse and baldachin of Santa Prassede

View of the narthex of Santa Prassede

View of a side aisle of Santa Prassede

View of a chapel off an aisle of Santa Prassede

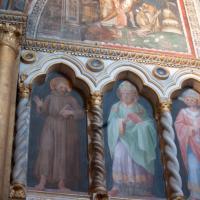
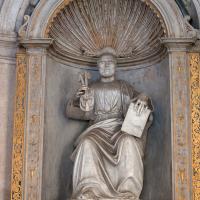
View of carved relief panels in Santa Prassede

View of carved relief panels in Santa Prassede

View of carved relief panels in Santa Prassede

View of carved relief panels in Santa Prassede

View of carved relief panels in Santa Prassede

View of carved relief panels and a tomb in Santa Prassede

View of a tomb in Santa Prassede

View of a tomb in Santa Prassede

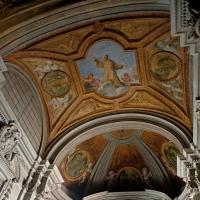
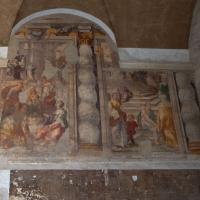
View of a painted barrel vault ceiling in Santa Prassede

View of a mosaic on an aisle wall in Santa Prassede

View of a mosaic on an aisle wall in Santa Prassede

View of a mosaic and architrave on an aisle wall in Santa Prassede

View of a mosaic niche in Santa Prassede

View of the nave of Santa Prassede

View of the nave of Santa Prassede

View of the entrance of Santa Prassede

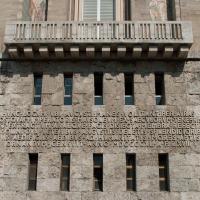
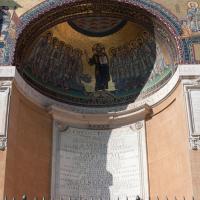
View of an inscription near Santa Prassede

View of an inscription near Santa Prassede

View of the Column of the Flagellation in Santa Prassede

View of an painting with an inscription in Santa Prassede

View of an inscription in Santa Prassede

View of an inscription in Santa Prassede

View of pilaster capital in Santa Prassede

View of columns embedded in the exterior of Santa Prassede

View of columns embedded in the exterior of Santa Prassede

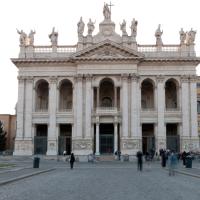
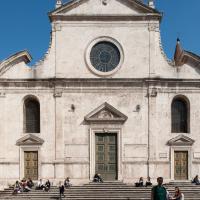
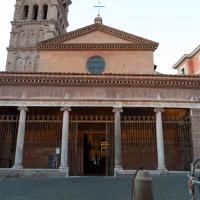
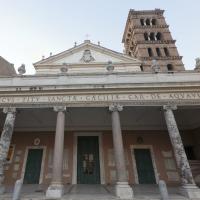
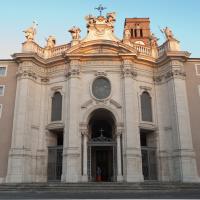
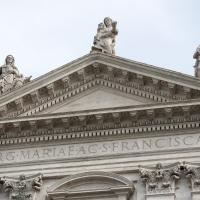
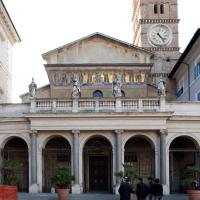
View of the facade of Santa Prassede

View of the facade of Santa Prassede

View of a column in the courtyard of Santa Prassede

View of a column in the courtyard of Santa Prassede

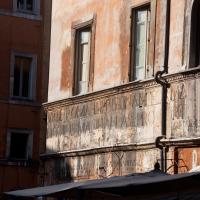
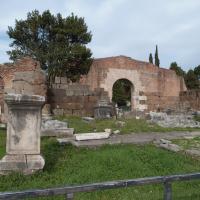
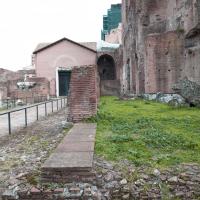
View of a brick passage with marble fragments near Santa Prassede

View of a brick passage with marble fragments near Santa Prassede

View of a brick passage with marble fragments near Santa Prassede

View of a brick passage with marble fragments near Santa Prassede

View of a brick passage with marble fragments near Santa Prassede

View of a brick passage with marble fragments near Santa Prassede

View of the east colonnade of Santa Prassede

View of the east colonnade of Santa Prassede

View of the east colonnade of Santa Prassede

View of paintings on the entrance wall of Santa Prassede

View of the apse of Santa Prassede

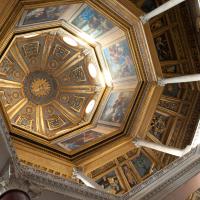
View of the dome of Santa Prassede

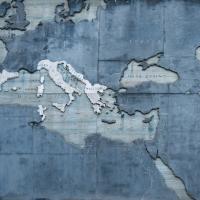
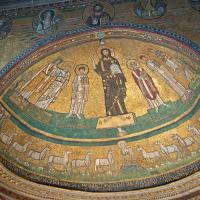
View of the apse mosaic of Santa Prassede

View of the apse altar of Santa Prassede

View of a chapel of Santa Prassede

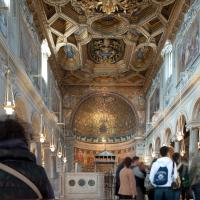
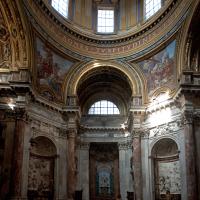
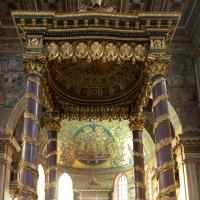
View of the apse mosaic and baldachin of Santa Prassede

View of the apse mosaic and baldachin of Santa Prassede

View of the apse mosaic and baldachin of Santa Prassede

View of the apse mosaic and baldachin of Santa Prassede

View of the apse mosaic and baldachin of Santa Prassede

View of the apse mosaic and baldachin of Santa Prassede

View of the apse mosaic and baldachin of Santa Prassede

View of the apse mosaic and baldachin of Santa Prassede

View of carved relief panels in Santa Prassede

View of carved relief panels in Santa Prassede

Interior: View of Museum Gallery

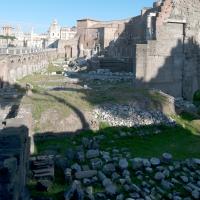
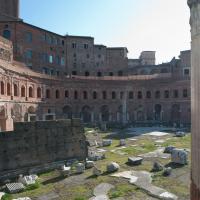
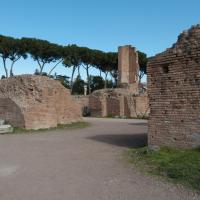
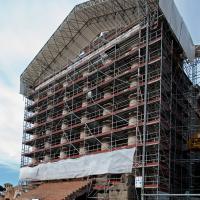
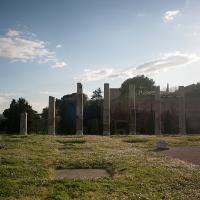
Exterior: View of Via Biberatica

Exterior: Overlooking Via Biberatica

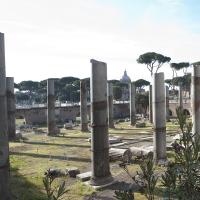
Interior: View of Central Hall

Interior: View of Central Hall

Interior: View of Room off Central Hall

Interior: View of Room off Central Hall

Interior: View of Room off Central Hall

Interior: View of Room off Central Hall

Interior: View of Room off Central Hall

Exterior: View onto Via Biberatica and First-floor Shops

Exterior: View of Via Biberatica

Exterior: View of Via Biberatica and First-Floor Shops

Exterior: View of Via Biberatica and First-Floor Shops

Exterior: View of Via Biberatica

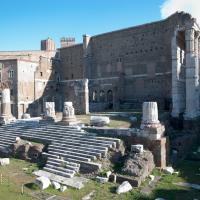
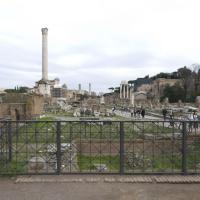
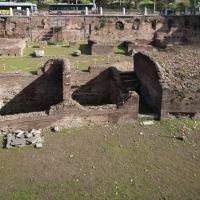
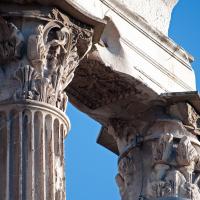
Exterior: View Overlooking Imperial Fora

Exterior: View onto Via Biberatica

Exterior: View onto Via Biberatica

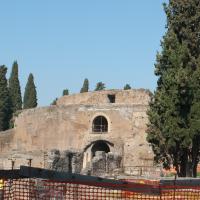
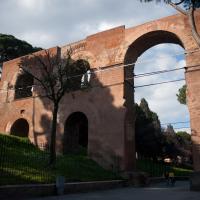
Exterior: View to Millizie Tower

Exterior: View to Millizie Tower

Exterior: View to Millizie Tower

Exterior: View of Via delle Torre

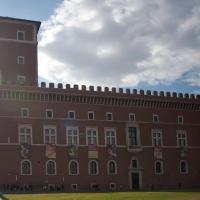
Exterior: View of Milizie Tower

Exterior: View of Milizie Tower

Exterior: View of Milizie Tower

Exterior: View of Milizie Garden

Exterior: View of Stairs to Via delle Torre

Interior: View of Milizie Tower

Interior: View of Museum

Interior: View of Museum
")
Interior: View of Museum (vaulted room)

Interior: View of Museum

Interior: View of Museum

Interior: View of Museum

Interior: View of Museum

Interior: View of Museum

Interior: View of Museum

Interior: View of Museum

Interior: View of Museum