Search the Collection

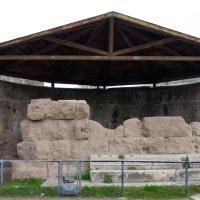
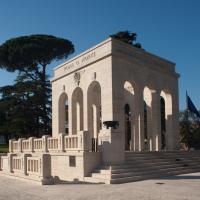
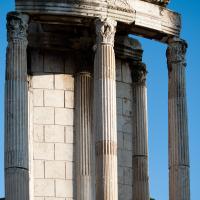
View of the front of the Ara Pacis

View of the southwest corner of the Ara Pacis

View of the southwest corner of the Ara Pacis

View of the western face of the Ara Pacis showing the Imperial Family procession

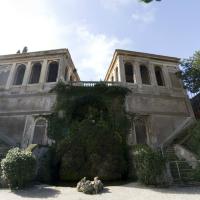
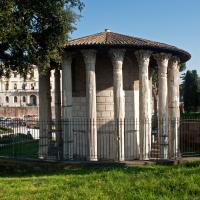
View of the northwest corner of the Ara Pacis

View of the Tellus Panel of the Ara Pacis

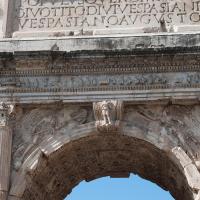
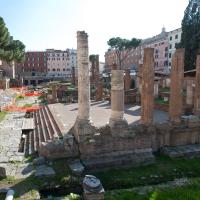
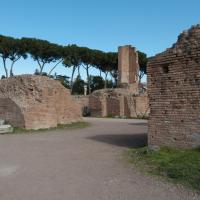
View of the northeast corner of the Ara Pacis

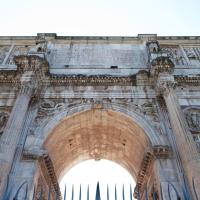
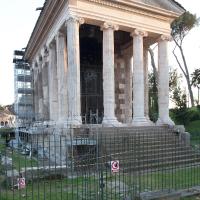
View of the eastern face of the Ara Pacis

View of the eastern face of the Ara Pacis

View of the eastern face of the Ara Pacis

View into the enclosure of the Ara Pacis from the north

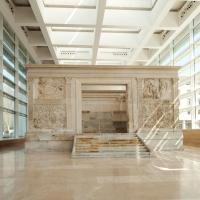
View inside the enclosure of the Ara Pacis

View inside the enclosure of the Ara Pacis

View inside the enclosure of the Ara Pacis

View inside the enclosure of the Ara Pacis

View inside the enclosure of the Ara Pacis

View inside the enclosure of the Ara Pacis

View inside the enclosure of the Ara Pacis

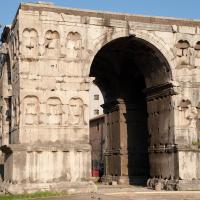
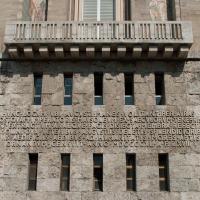
View of the northern face of the Ara Pacis

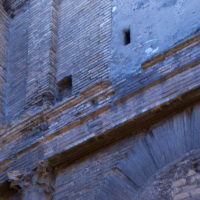
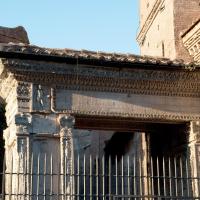
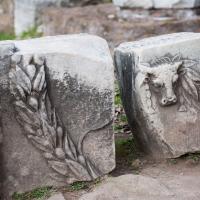
Detail of vegetal carving on the Ara Pacis

Detail of vegetal carving on the Ara Pacis

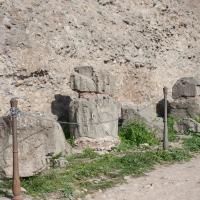
Detail of fragments of the Imperial procession on the Ara Pacis

Detail of fragments of the Imperial procession on the Ara Pacis

Detail of the Tellus Panel on the Ara Pacis

Detail of the Tellus Panel on the Ara Pacis

Detail of vegetal carving on the Ara Pacis

Detail of a fragment of a figure on the Ara Pacis

View inside the enclosure of the Ara Pacis

View inside the enclosure of the Ara Pacis

View inside the enclosure of the Ara Pacis

Detail of a griffin inside the enclosure of the Ara Pacis

Detail of a griffin inside the enclosure of the Ara Pacis

Detail of a garland inside the enclosure of the Ara Pacis

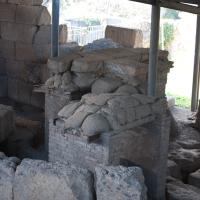
Detail of the altar inside the enclosure of the Ara Pacis

Detail of the frieze of the altar inside the enclosure of the Ara Pacis

Detail of the frieze of the altar inside the enclosure of the Ara Pacis

Detail of the frieze of the altar inside the enclosure of the Ara Pacis

Detail of the altar inside the enclosure of the Ara Pacis

Detail of the altar inside the enclosure of the Ara Pacis

Detail of a griffin inside the enclosure of the Ara Pacis

Detail of a griffin inside the enclosure of the Ara Pacis

Detail of the altar inside the enclosure of the Ara Pacis

Detail of the altar inside the enclosure of the Ara Pacis

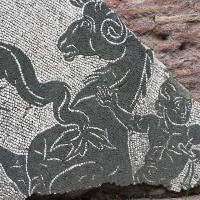
Detail of the Lupercal Panel of the Ara Pacis

Detail of the Lupercal Panel of the Ara Pacis

Detail of vegetal carving on the Ara Pacis

Detail of vegetal carving on the Ara Pacis

Detail of the Imperial Family procession on the Ara Pacis

Detail of the Imperial Family procession on the Ara Pacis

Detail of the Imperial Family procession on the Ara Pacis

Detail of the Imperial Family procession on the Ara Pacis

Detail of the Imperial Family procession on the Ara Pacis

Detail of vegetal carving on the Ara Pacis

Detail of vegetal carving on the Ara Pacis

Detail of vegetal carving on the Ara Pacis

Detail of vegetal carving on the Ara Pacis

Detail of vegetal carving on the Ara Pacis

Detail of vegetal carving on the Ara Pacis

Detail of the Imperial Family procession on the Ara Pacis

Detail of the Imperial Family procession on the Ara Pacis

Detail of the Imperial Family procession on the Ara Pacis

Detail of the Imperial Family procession on the Ara Pacis

Detail of the Imperial Family procession on the Ara Pacis

Detail of vegetal carving on the Ara Pacis

Detail of vegetal carving on the Ara Pacis

Detail of vegetal carving on the Ara Pacis

Detail of vegetal carving on the Ara Pacis

Detail of the Imperial Family procession on the Ara Pacis

Detail of vegetal carving on the Ara Pacis

Detail of vegetal carving on the Ara Pacis

Detail of vegetal carving on the Ara Pacis

Detail of vegetal carving on the Ara Pacis

Detail of vegetal carving on the Ara Pacis

Detail of vegetal carving on the Ara Pacis

Detail of Tellus Panel on the Ara Pacis

Detail of Tellus Panel on the Ara Pacis

Detail of Tellus Panel on the Ara Pacis

Detail of vegetal carving on the Ara Pacis

View of the western face of the Ara Pacis

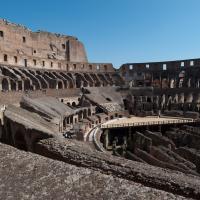
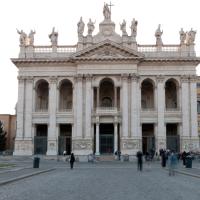
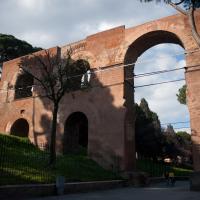
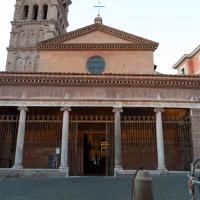
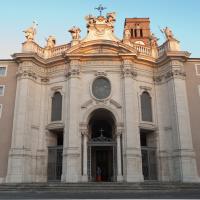
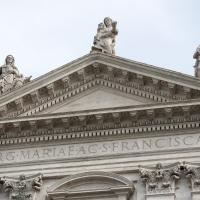
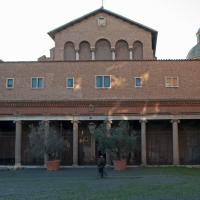
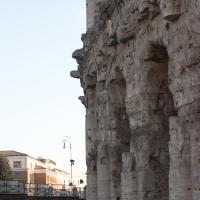
Exterior: View from NE

Exterior: View from NE

Exterior: View from NE

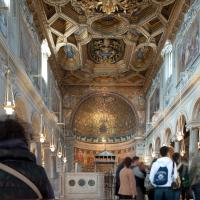
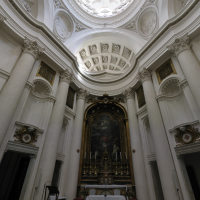
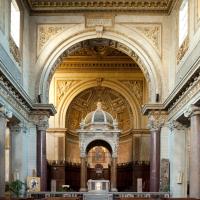
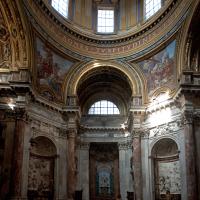
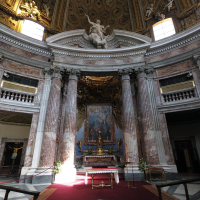
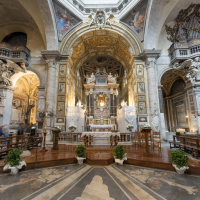
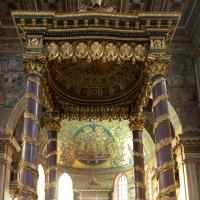
Interior: Main altar

Interior: Upper view of main altar

Interior: Main altar

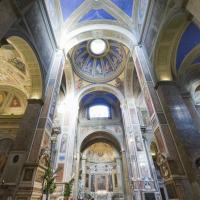
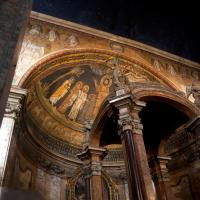
Interior: Main altar looking toward dome with inscription

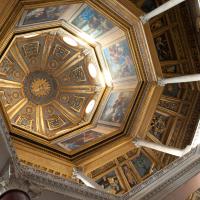
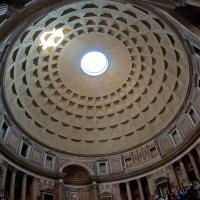
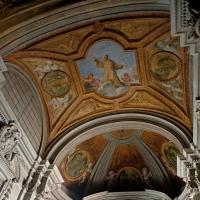
Interior: Main altar dome

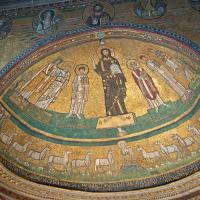
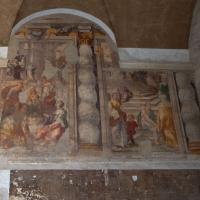
Interior: Detail of dome fresco

Interior: Detail of dome fresco

Interior: Detail of main altar ceiling

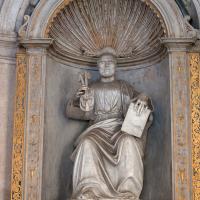
Interior: Detail of main altar sculpture

Interior: Detail of Shrine of Saint Agnes

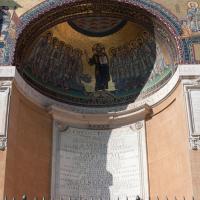
Interior: Detail of painting above shrine

Interior: Main altar dome

Interior: Main altar looking toward dome

Interior: Main altar

Interior: Gilded vault before main altar and dome

Interior: Gilded vault before main altar

Interior: Left arm of Chapel of Saint Sebastian, view of decoration above altar

Interior: View of Saint Sebastian sculpture on left hand arm of chapel

Interior: View of organ inserted in barrel vault above the Tomb of Pope Innocent X

Interior: View of Chapel of Saint Agnes on right hand arm of church

Interior: View of vault ceiling above Saint Agnes sculpture

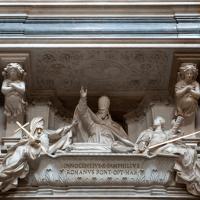
Interior: View of entrance to the narthex, church organ, and Tomb of Pope Innocent X

Interior: View of entrance to the narthex, church organ, and Tomb of Pope Innocent X

Interior: Left hand entrance to the narthex

Interior: Right hand entrance to the narthex

Interior: Right hand entrance to the narthex and Tomb of Pope Innocent X

Interior: View of entrance to the narthex, church organ, and Tomb of Pope Innocent X

Interior: Detail of Chapel of Saint Agnes

Interior: Detail of Chapel of Saint Agnes

Interior: Detail of Chapel of Saint Agnes altar framing

Interior: Detail of Chapel of Saint Agnes marble decoration

Interior: Detail of Chapel of Saint Agnes marble decoration fleur-de-lys

Interior: Detail of Chapel of Saint Agnes marble decoration dove holding olive leaf

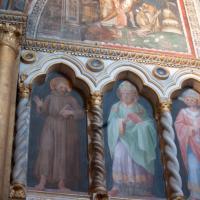
Interior: Detail of altar

Interior: Detail of altar relief sculpture

Interior: Detail of main altar relief sculpture

Interior: Detail of main altar frame

Interior: Detail of chapel altar relief sculpture

Interior: Detail of Chapel of Saint Sebastian

Interior: Detail of Chapel of Saint Sebastian altar

Interior: Detail of chapel altar relief sculpture

Interior: Detail of chapel altar relief sculpture

Interior: Detail of dome fresco

Interior: Main altar

Interior: Detail of main altar relief sculpture

Interior: Detail of chapel altar relief sculpture

Interior: Detail of Chapel of Saint Eustace altar relief sculpture

Interior: Detail of Chapel of Saint Alexis altar relief sculpture
")
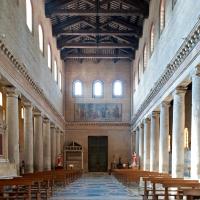
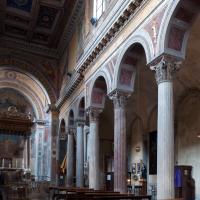
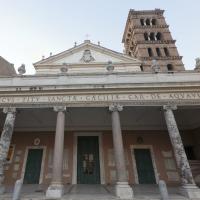
Interior: View from East (entrance)

Interior: Center

Interior: View of Main Altar

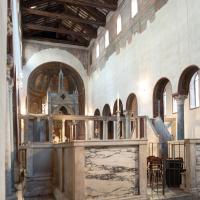
Interior: View from South

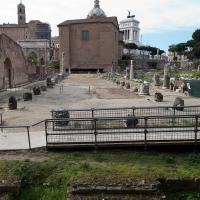
Interior: View of Borromini Sacristy

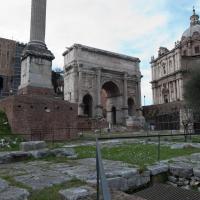
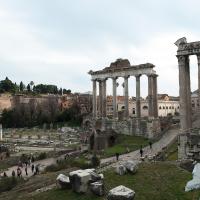
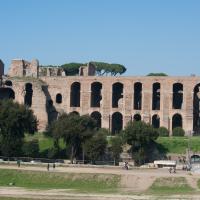
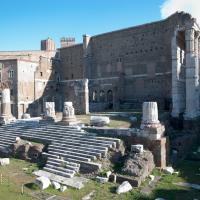
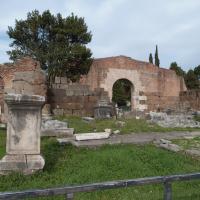
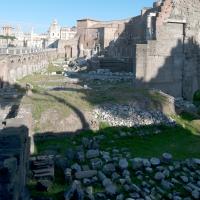
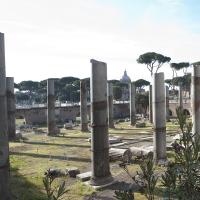
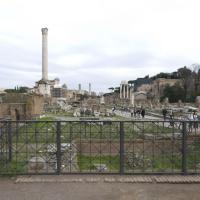
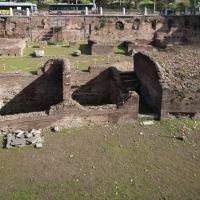
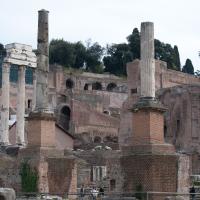
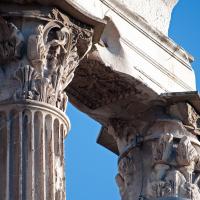
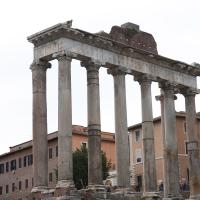
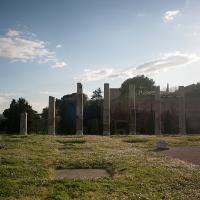
View of the Temple of Saturn from the northeast

View of the Temple of Saturn from the west

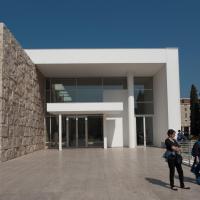
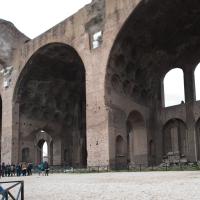
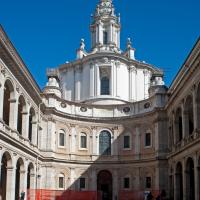
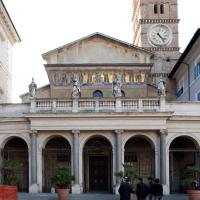
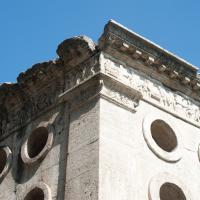
Exterior: View from NW

Exterior: View from SW