Search the Collection


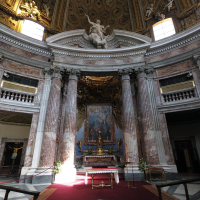
Interior: Main altar

Interior: Upper view of main altar

Interior: Main altar

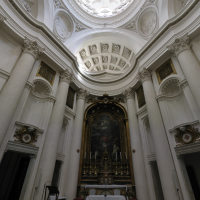
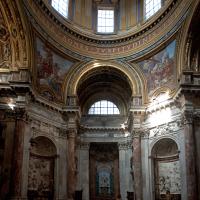
Interior: Main altar looking toward dome with inscription

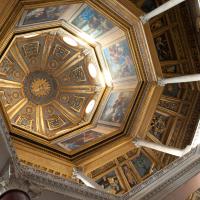
Interior: Main altar dome

Interior: Detail of dome fresco

Interior: Detail of dome fresco

Interior: Detail of main altar ceiling

Interior: Detail of main altar sculpture

Interior: Detail of Shrine of Saint Agnes

Interior: Detail of painting above shrine

Interior: Main altar dome

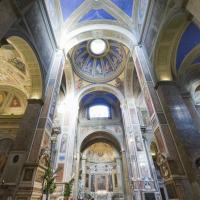
Interior: Main altar looking toward dome

Interior: Main altar

Interior: Gilded vault before main altar and dome

Interior: Gilded vault before main altar

Interior: Left arm of Chapel of Saint Sebastian, view of decoration above altar

Interior: View of Saint Sebastian sculpture on left hand arm of chapel

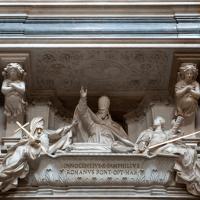
Interior: View of organ inserted in barrel vault above the Tomb of Pope Innocent X

Interior: View of Chapel of Saint Agnes on right hand arm of church

Interior: View of vault ceiling above Saint Agnes sculpture

Interior: View of entrance to the narthex, church organ, and Tomb of Pope Innocent X

Interior: View of entrance to the narthex, church organ, and Tomb of Pope Innocent X

Interior: Left hand entrance to the narthex

Interior: Right hand entrance to the narthex

Interior: Right hand entrance to the narthex and Tomb of Pope Innocent X

Interior: View of entrance to the narthex, church organ, and Tomb of Pope Innocent X

Interior: Detail of Chapel of Saint Agnes

Interior: Detail of Chapel of Saint Agnes

Interior: Detail of Chapel of Saint Agnes altar framing

Interior: Detail of Chapel of Saint Agnes marble decoration

Interior: Detail of Chapel of Saint Agnes marble decoration fleur-de-lys

Interior: Detail of Chapel of Saint Agnes marble decoration dove holding olive leaf

Interior: Detail of altar

Interior: Detail of altar relief sculpture

Interior: Detail of main altar relief sculpture

Interior: Detail of main altar frame

Interior: Detail of chapel altar relief sculpture

Interior: Detail of Chapel of Saint Sebastian

Interior: Detail of Chapel of Saint Sebastian altar

Interior: Detail of chapel altar relief sculpture

Interior: Detail of chapel altar relief sculpture

Interior: Detail of dome fresco

Interior: Main altar

Interior: Detail of main altar relief sculpture

Interior: Detail of chapel altar relief sculpture

Interior: Detail of Chapel of Saint Eustace altar relief sculpture

Interior: Detail of Chapel of Saint Alexis altar relief sculpture
")
Interior: View from East (entrance)

Interior: Center

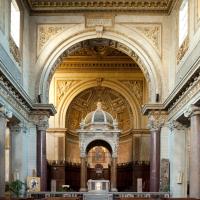
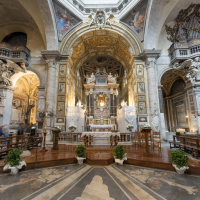
Interior: View of Main Altar

Interior: View from South

Interior: View of Borromini Sacristy

Interior: View of Crossing

Interior: View of Nave

Interior: View of Nave

Interior: View of Chapel of the Crucifix

Interior: View of Side Chapel

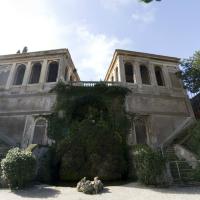
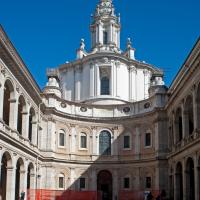
Exterior: View of Courtyard

Exterior: View of Passageway

Exterior: View of side entrance

Interior: View of Chapel of Saint Zeno

Interior: View of Chapel of Saint Zeno

Interior: View of Crypt

Interior: View of Crypt

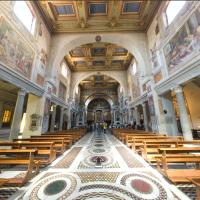
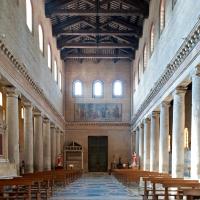
View of the nave of Santa Prassede looking towards the entrance

View of the nave of Santa Prassede looking towards the entrance

View of the nave of Santa Prassede looking towards the entrance

View of the apse and baldachin of Santa Prassede

View of the apse and baldachin of Santa Prassede

View of the narthex of Santa Prassede

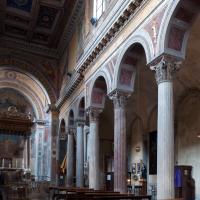
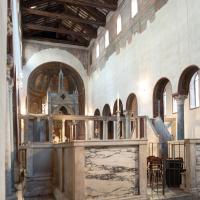
View of a side aisle of Santa Prassede

View of a chapel off an aisle of Santa Prassede

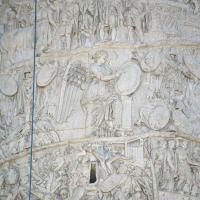
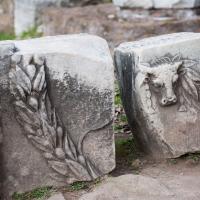
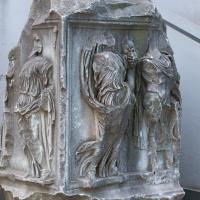
View of carved relief panels in Santa Prassede

View of carved relief panels in Santa Prassede

View of carved relief panels in Santa Prassede

View of carved relief panels in Santa Prassede

View of carved relief panels in Santa Prassede

View of carved relief panels and a tomb in Santa Prassede

View of a tomb in Santa Prassede

View of a tomb in Santa Prassede

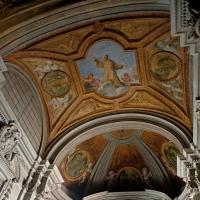
View of a painted barrel vault ceiling in Santa Prassede

View of a mosaic on an aisle wall in Santa Prassede

View of a mosaic on an aisle wall in Santa Prassede

View of a mosaic and architrave on an aisle wall in Santa Prassede

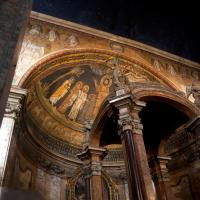
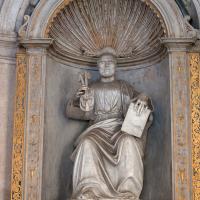
View of a mosaic niche in Santa Prassede

View of the nave of Santa Prassede

View of the nave of Santa Prassede

View of the entrance of Santa Prassede

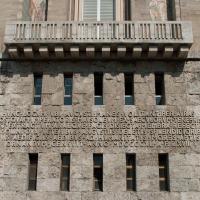
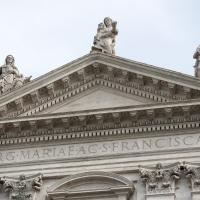
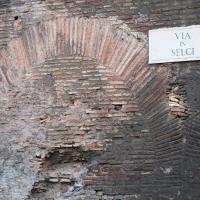
View of an inscription near Santa Prassede

View of an inscription near Santa Prassede

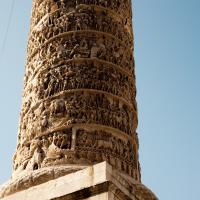
View of the Column of the Flagellation in Santa Prassede

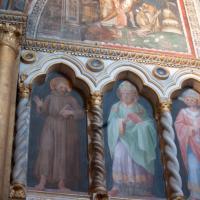
View of an painting with an inscription in Santa Prassede

View of an inscription in Santa Prassede

View of an inscription in Santa Prassede

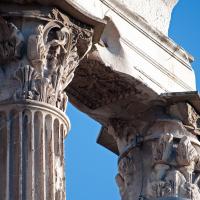
View of pilaster capital in Santa Prassede

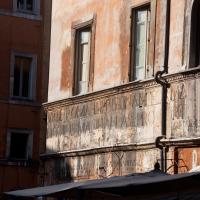
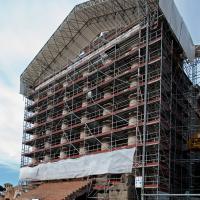
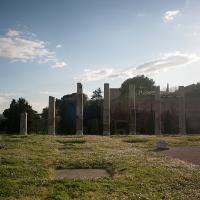
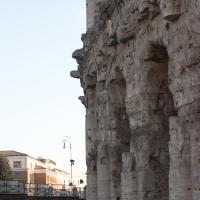
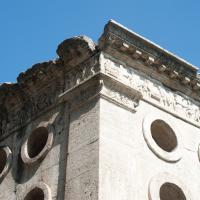
View of columns embedded in the exterior of Santa Prassede

View of columns embedded in the exterior of Santa Prassede

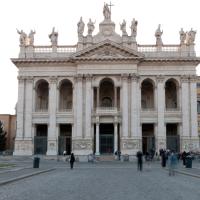
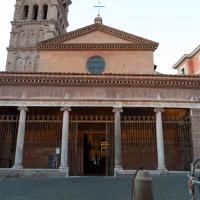
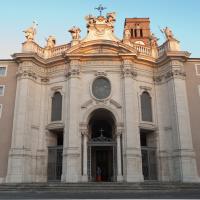
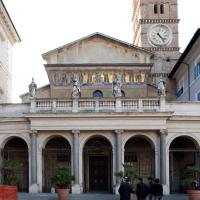
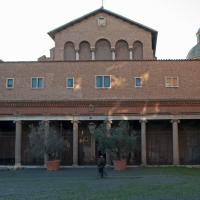
View of the facade of Santa Prassede

View of the facade of Santa Prassede

View of a column in the courtyard of Santa Prassede

View of a column in the courtyard of Santa Prassede

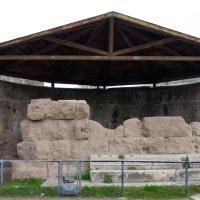
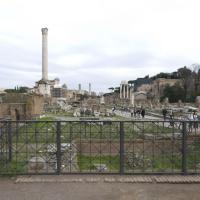
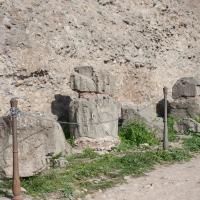
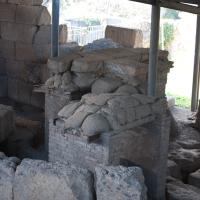
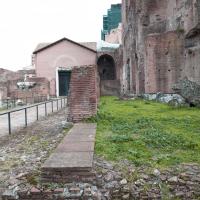
View of a brick passage with marble fragments near Santa Prassede

View of a brick passage with marble fragments near Santa Prassede

View of a brick passage with marble fragments near Santa Prassede

View of a brick passage with marble fragments near Santa Prassede

View of a brick passage with marble fragments near Santa Prassede

View of a brick passage with marble fragments near Santa Prassede

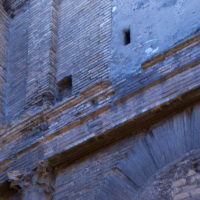
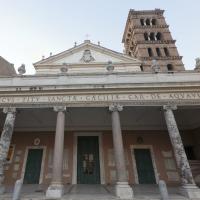
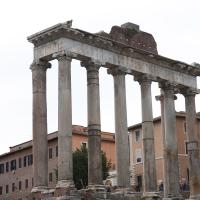
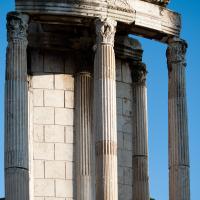
View of the east colonnade of Santa Prassede

View of the east colonnade of Santa Prassede

View of the east colonnade of Santa Prassede

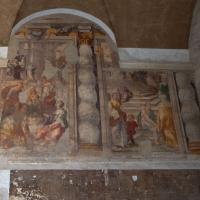
View of paintings on the entrance wall of Santa Prassede

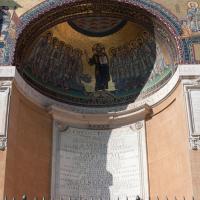
View of the apse of Santa Prassede

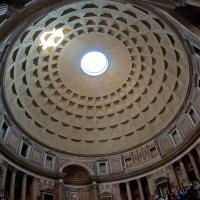
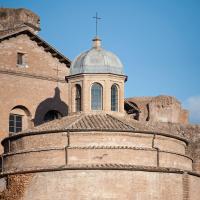
View of the dome of Santa Prassede

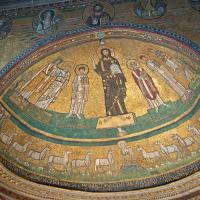
View of the apse mosaic of Santa Prassede

View of the apse altar of Santa Prassede

View of a chapel of Santa Prassede

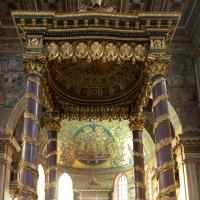
View of the apse mosaic and baldachin of Santa Prassede

View of the apse mosaic and baldachin of Santa Prassede

View of the apse mosaic and baldachin of Santa Prassede

View of the apse mosaic and baldachin of Santa Prassede

View of the apse mosaic and baldachin of Santa Prassede

View of the apse mosaic and baldachin of Santa Prassede

View of the apse mosaic and baldachin of Santa Prassede

View of the apse mosaic and baldachin of Santa Prassede

View of carved relief panels in Santa Prassede

View of carved relief panels in Santa Prassede