Panorama Tour
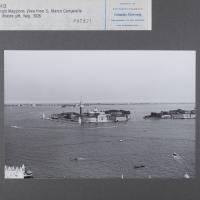
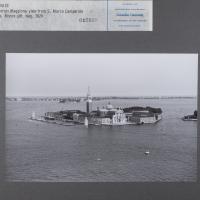
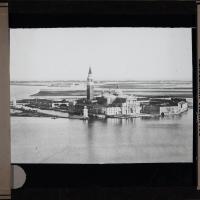
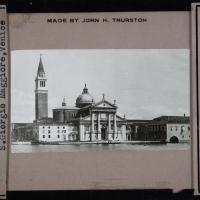
view from Bacino San Marco
view from Bacino San Marco
view from Bacino San Marco
view from Bacino San Marco
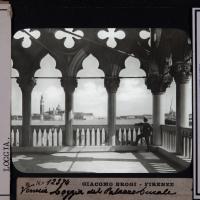
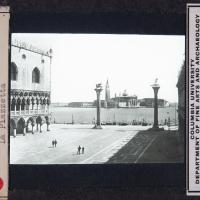
Exterior: View from Main Balcony Across Piazza San Marco and the Lagoon
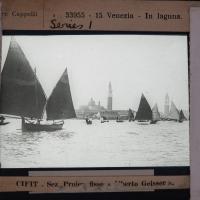
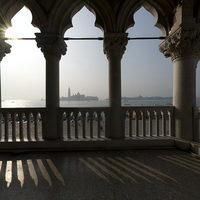
view across Bacino San Marco towards San Giorgio Maggiore from Riva degli Schiavoni
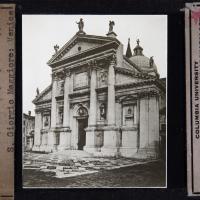
main facade
main facade
view of side entrance
detail: sculpture of St. George in niche, main facade
detail: sculpture of St. Stephen in niche, main facade
detail: sculpture of St. Stephen in niche, main facade
detail: column capitals, main facade
detail: emblem, main facade
detail: late 16th c. bust of Doge Tribuno Memmo in niche, main facade
detail: late 16th c. bust of Doge Tribuno Memmo in niche, main facade
main facade
main facade
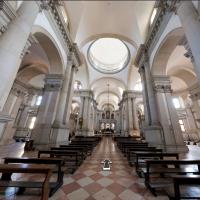
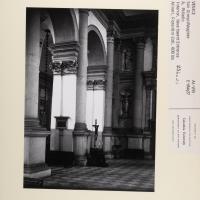
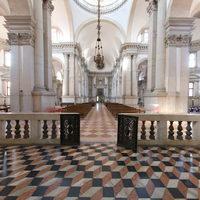
view down nave towards entrance
detail: sculpture flanking entrance, interior
detail: sculpture flanking entrance, interior
detail: sculpture flanking entrance, interior
detail: sculpture flanking entrance, interior
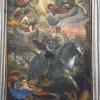
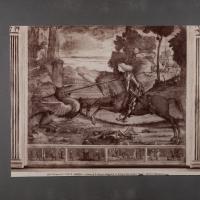
detail: painting of St. George
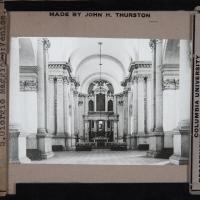
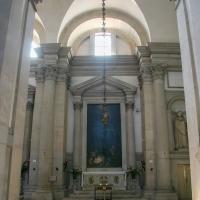
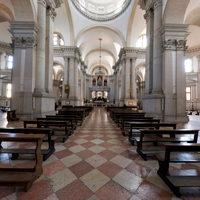
view down nave towards altar
view of altar and organ
detail: columns, sculpture right of entrance
detail: columns, sculpture left of entrance
detail: sculpture in niche in corner flanking nave
detail: sculpture in niche in corner flanking nave
detail: sculpture in niche in corner flanking nave
detail: sculpture in niche in corner flanking nave
side altar with painting by Leandro Bassano
side altar with painting by Leandro Bassano
detail
side altar
side altar
detail: sculpture in niche, interior
detail: sculpture in niche, interior
detail: side altar
detail: sculpture of St. Maurus in niche and column, interior
detail: sculpture of St. Maurus in niche, interior
detail: side altar, bust and dedication
detail: side altar, bust and dedication
detail: side altar with Madonna
detail: statue of Madonna
detail: view of nave towards entrance
detail: view of nave towards entrance
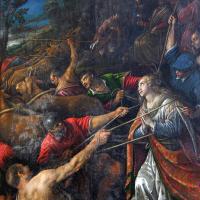
detail: side altar with painting “Martyrdom of Saints”
detail: side altar with painting
detail: painting in side altar
detail: side altar with painting “Martyrdom of Saints”
side altar
side altar
detail
detail
detail: view across aisle
detail: view into side chapel
detail: side altar with painting
side altar
detail: sculpture on interior pediment of altar surrounding Martyrdom of St. Stephen
detail: sculpture on interior pediment of altar surrounding Martyrdom of St. Stephen
view across aisle into side chapel
view across aisle into side chapel
detail: side altar with painting “Risen Christ and Saint Andrew with Morosini Family”
side altar
detail of depiction of Vincenzo Morosini
side altar
detail: Pope Gregory
detail: sculpture in interior niche
detail: sculpture in interior niche
detail: side altar with painting “Madonna Enthroned with Saints”
view towards main altar
view of sculptures and column flanking altar
view of sculpture in interior niche, adjacent to main altar
view of sculpture in interior niche, adjacent to main altar
main altar
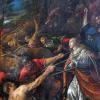
view of presbytery with painting “The Jews in the Desert”
view of presbytery with painting “The Last Supper”
view of organ, main altar
detail: sculpture of angel on main altar
detail: sculpture of angel on main altar
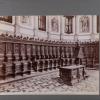
detail: sculpture in choir
detail: sculpture in choir
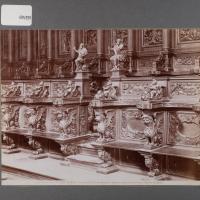
detail: sculptural relief in choir stalls
detail: sculpture in choir stall
detail: sculptural relief in choir stalls
detail: sculpture in niche along ceiling of choir
detail: sculpture in niche along ceiling of choir
detail: sculpture in niche along ceiling of choir
detail: sculpture in niche along ceiling of choir
detail: sculpture in niche along ceiling of choir
detail: sculpture in niche along ceiling of choir
detail: sculpture in niche along ceiling of choir
detail: sculpture in niche along ceiling of choir
detail: central sculpture on main altar
view down nave towards entrance from main altar
view of ceiling and interior of dome above main altar
Interior: North Aisle
Interior: South Aisle
Interior: Altar
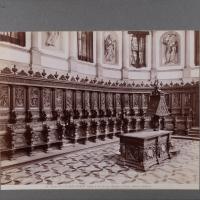
Interior: Choir
Interior: East of Crossing
Exterior: Façade
Exterior: Façade
Interior: Nave
Interior: Crossing
Interior: North Transept
Interior: South Transept