Skip to main content
MCID
User
Log in
Assyrian
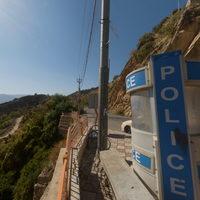
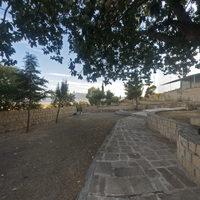
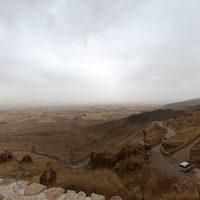
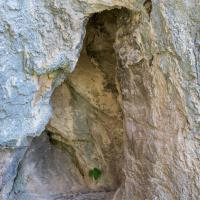
Amadiya Citadel
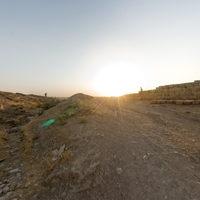
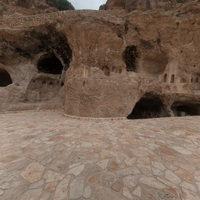
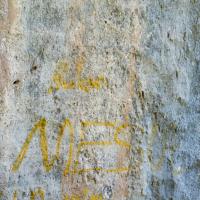
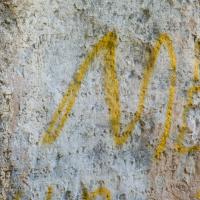
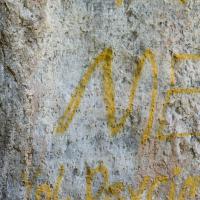
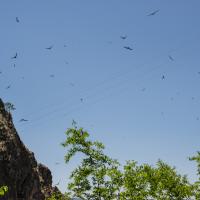
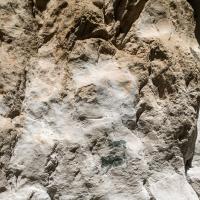
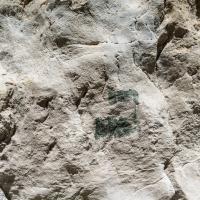
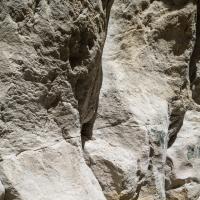
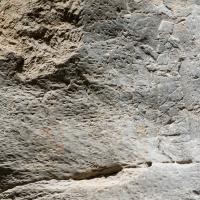
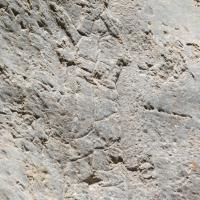
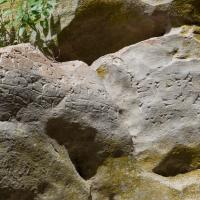
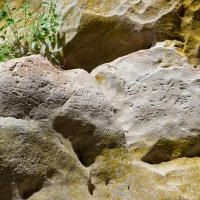
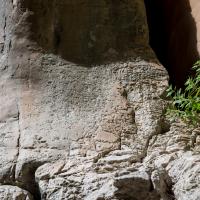
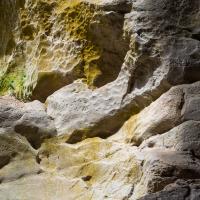
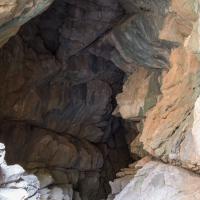
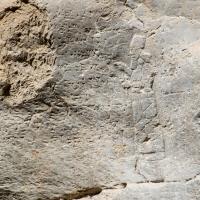
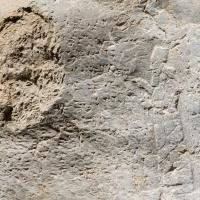
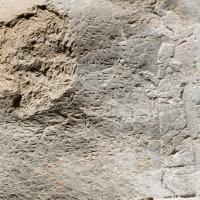
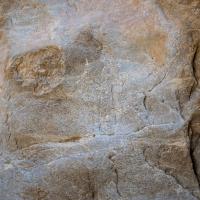
Khannis Rock Reliefs
Khannis Rock Reliefs
Khannis Rock Reliefs
Khannis Rock Reliefs
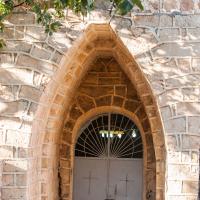
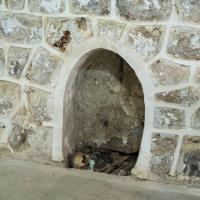
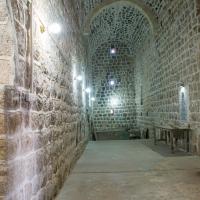
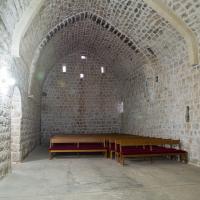
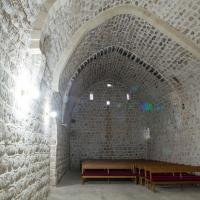
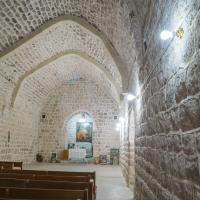
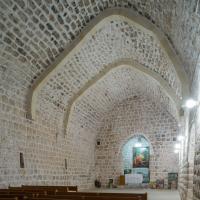
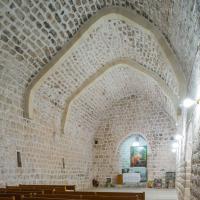
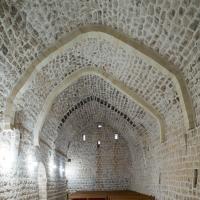
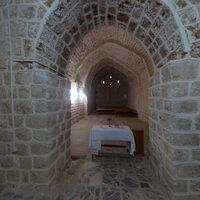
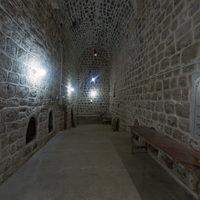
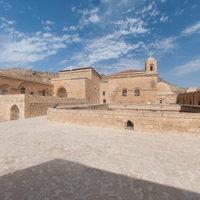
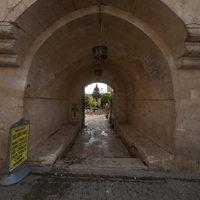
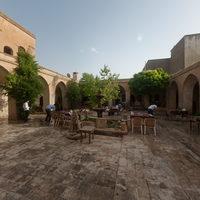
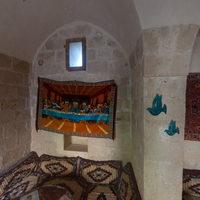
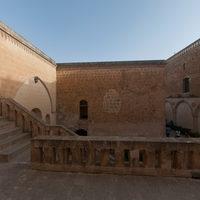
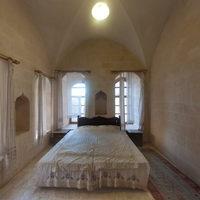
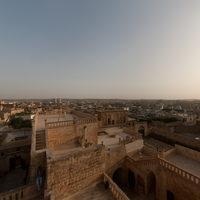
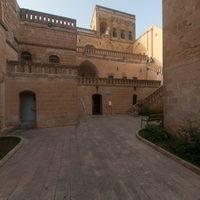
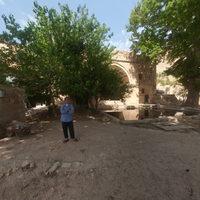
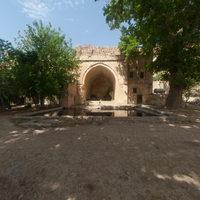
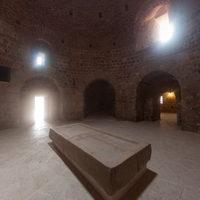
Church of Sultan Madokh
Church of Sultan Madokh
Church of Sultan Madokh
Church of Sultan Madokh
Church of Sultan Madokh
Church of Sultan Madokh
Church of Sultan Madokh
Church of Sultan Madokh
Church of Sultan Madokh
Church of Sultan Madokh
Church of Sultan Madokh
Church of Sultan Madokh
Church of Sultan Madokh
Church of Sultan Madokh
Church of Sultan Madokh
Church of Sultan Madokh
Church of Sultan Madokh
Church of Sultan Madokh
Church of Sultan Madokh
Church of Sultan Madokh
Church of Sultan Madokh
Church of Sultan Madokh
Church of Sultan Madokh
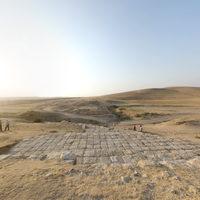
Jerewana Aqueduct
Jerewana Aqueduct
Jerewana Aqueduct
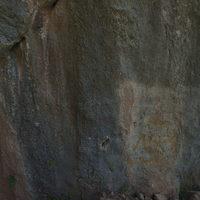
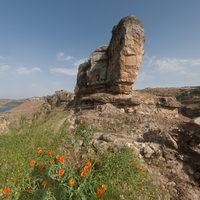
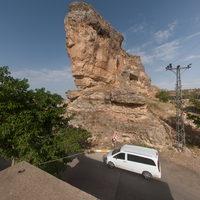
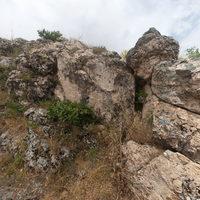
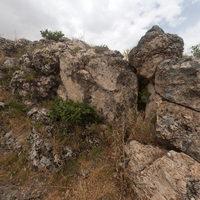
Maltai Reliefs
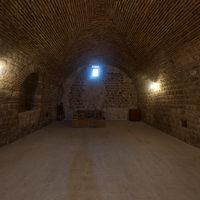
Church of Sultan Madokh
Church of Sultan Madokh
Church of Sultan Madokh
Church of Sultan Madokh
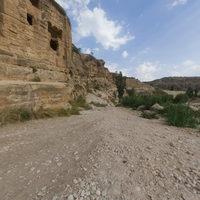
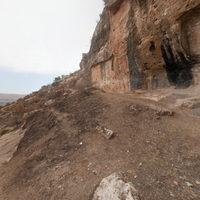
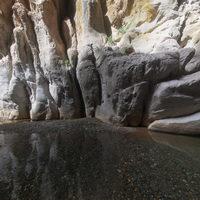
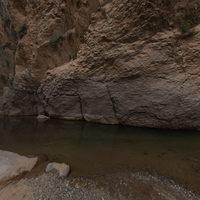
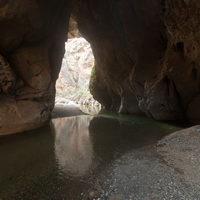
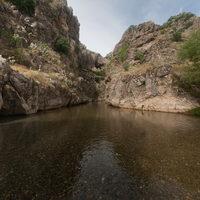
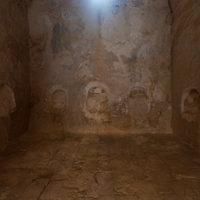
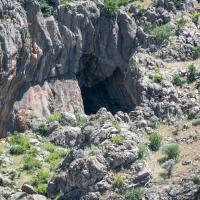
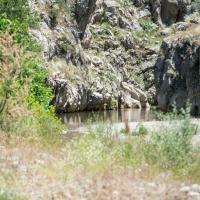
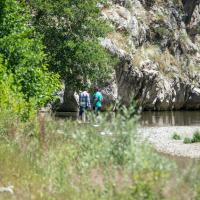
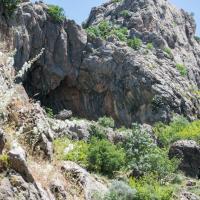
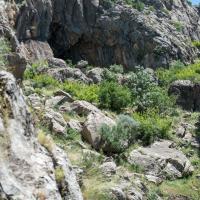
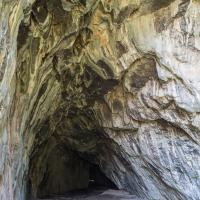
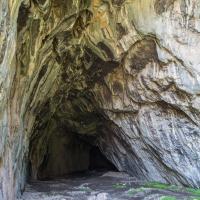
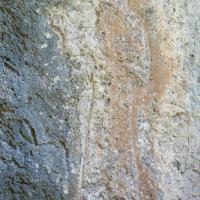
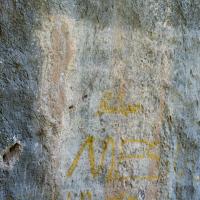
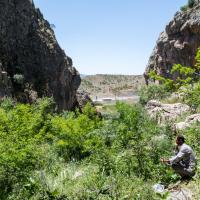
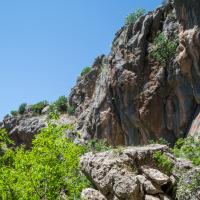
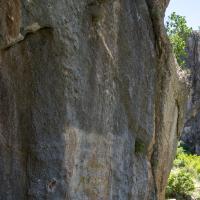
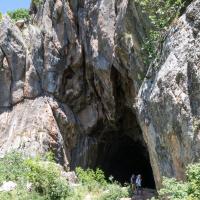
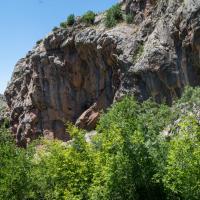
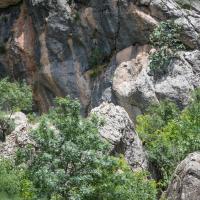
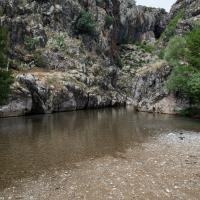
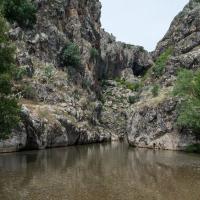
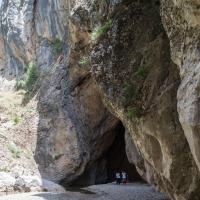
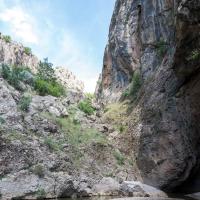
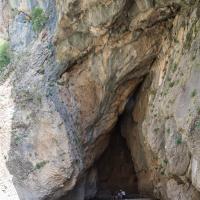
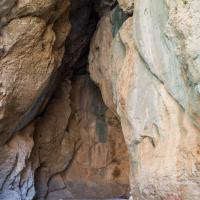
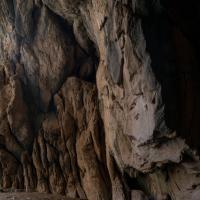
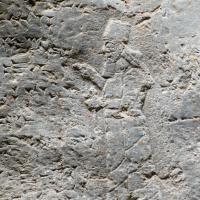
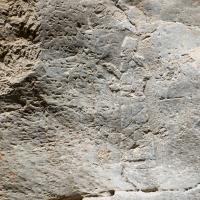
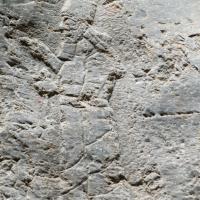
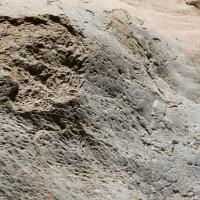
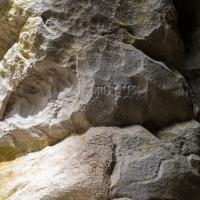
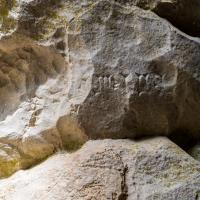
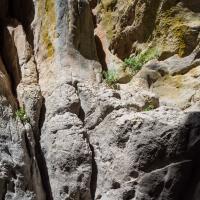
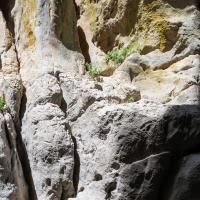
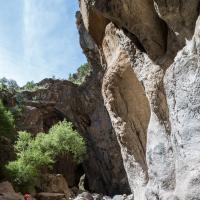
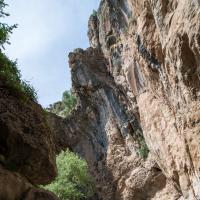
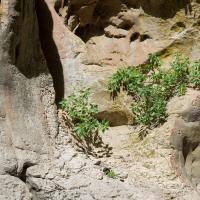
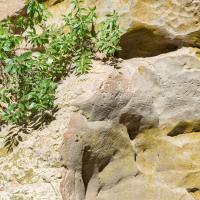
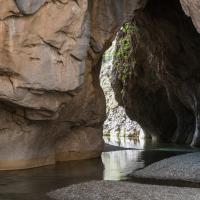
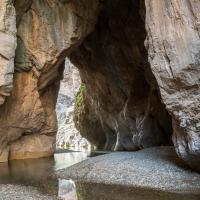
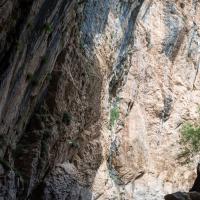
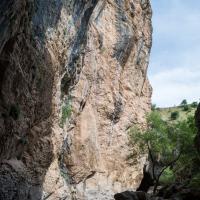
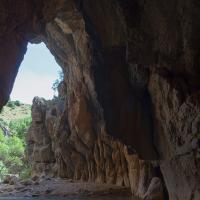
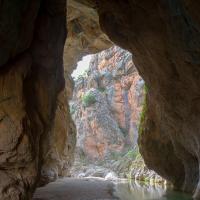
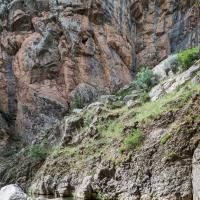
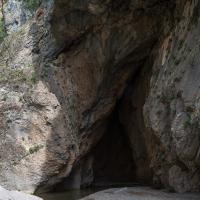
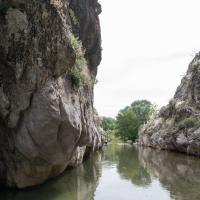
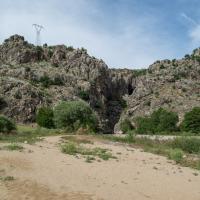
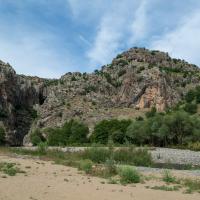
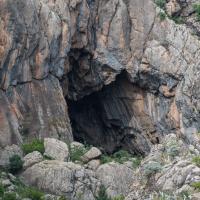
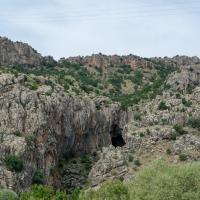
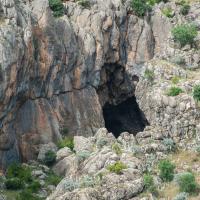
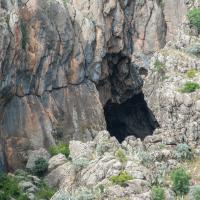
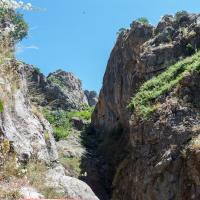
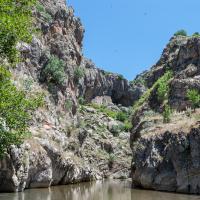
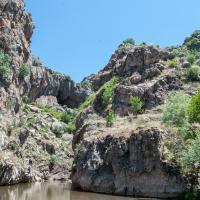
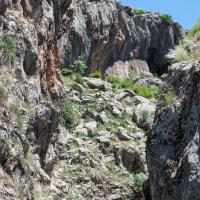
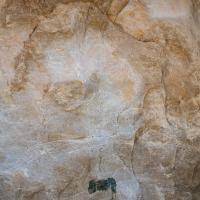
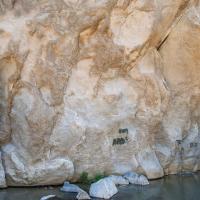
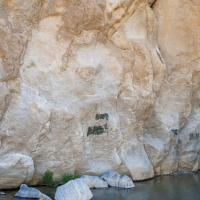
Birkleyn Reliefs
Birkleyn Reliefs
Birkleyn Reliefs
Birkleyn Reliefs
Birkleyn Reliefs
Birkleyn Reliefs
Birkleyn Reliefs
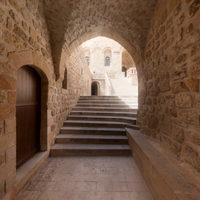
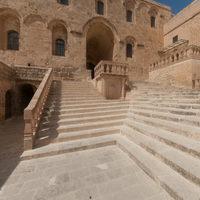
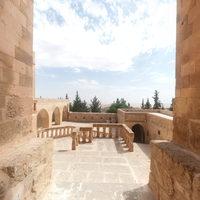
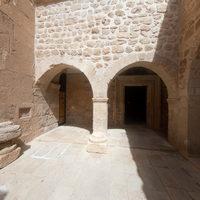
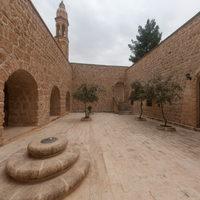
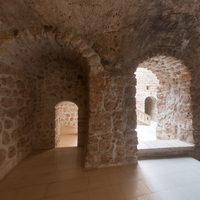
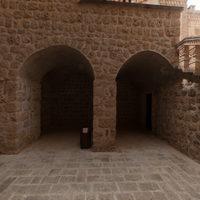
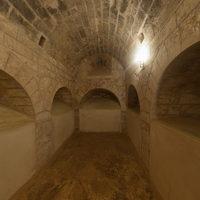
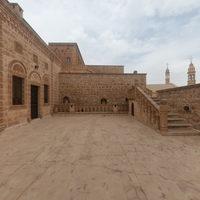
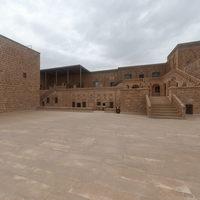
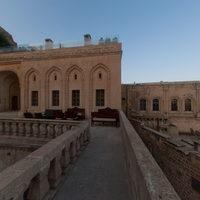
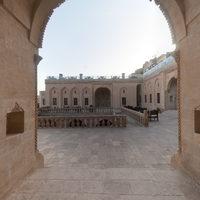
Deyrulzafaran Monastery
Deyrulzafaran Monastery
Deyrulzafaran Monastery
Deyrulzafaran Monastery
Deyrulzafaran Monastery
Deyrulzafaran Monastery
Deyrulzafaran Monastery
Deyrulzafaran Monastery
Deyrulzafaran Monastery
Deyrulzafaran Monastery
Deyrulzafaran Monastery
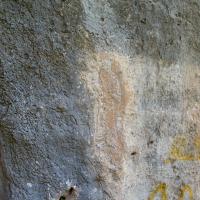
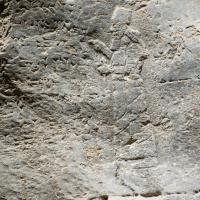
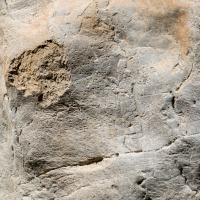
Eğil Relief
Eğil Relief
Eğil Relief
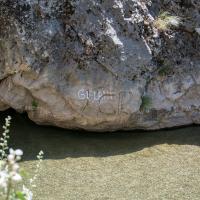
Gelüşke Hanı
Gelüşke Hanı
Gelüşke Hanı
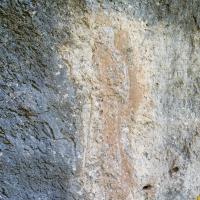
Gisgis Relief
Gisgis Relief
Midyat Çevre Kültür Evi
Midyat Çevre Kültür Evi
Midyat Çevre Kültür Evi
Midyat Çevre Kültür Evi
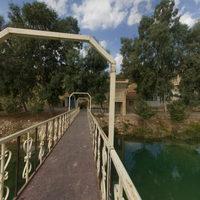
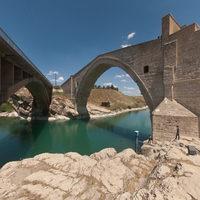
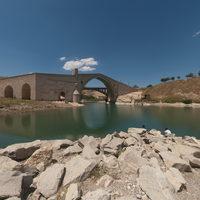
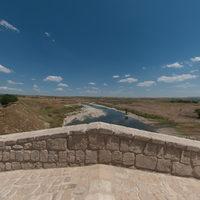
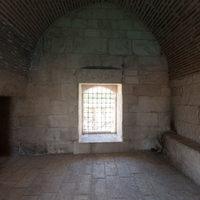
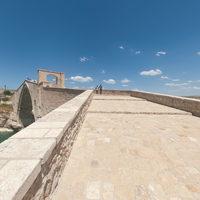
Malabadi Bridge
Malabadi Bridge
Malabadi Bridge
Malabadi Bridge
Malabadi Bridge
Firdevs Kasrı
Firdevs Kasrı
Mor Augin Monastery
Mor Augin Monastery
Mor Augin Monastery
Mor Augin Monastery
Mor Augin Monastery
Mor Augin Monastery
Mor Augin Monastery
Mor Augin Monastery
Mor Augin Monastery
Mor Gabriel Monastery
Mor Gabriel Monastery
Mor Gabriel Monastery
Mor Gabriel Monastery
Mor Gabriel Monastery
Mor Gabriel Monastery
Mor Gabriel Monastery
Mor Gabriel Monastery
Old Post Office Building
Old Post Office Building
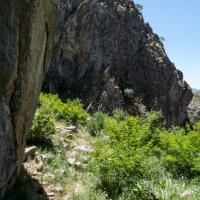
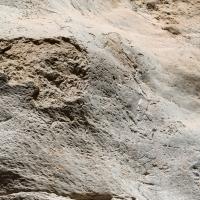
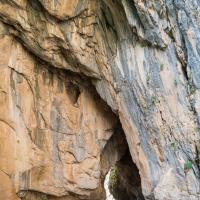
Birkleyn Reliefs
Birkleyn Reliefs
Birkleyn Reliefs
Birkleyn Reliefs
Birkleyn Reliefs
Birkleyn Reliefs
Birkleyn Reliefs
Birkleyn Reliefs
Birkleyn Reliefs
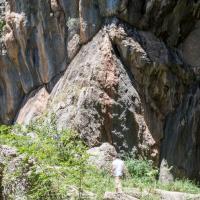
Birkleyn Reliefs
Birkleyn Reliefs
Birkleyn Reliefs
Birkleyn Reliefs
Birkleyn Reliefs
Birkleyn Reliefs
Birkleyn Reliefs
Birkleyn Reliefs
Birkleyn Reliefs
Birkleyn Reliefs
Birkleyn Reliefs
Birkleyn Reliefs
Birkleyn Reliefs
Birkleyn Reliefs
Birkleyn Reliefs
Birkleyn Reliefs
Birkleyn Reliefs
Birkleyn Reliefs
Birkleyn Reliefs
Birkleyn Reliefs
Birkleyn Reliefs
Birkleyn Reliefs
Birkleyn Reliefs
Birkleyn Reliefs
Birkleyn Reliefs
Birkleyn Reliefs
Birkleyn Reliefs
Birkleyn Reliefs
Birkleyn Reliefs
Birkleyn Reliefs
Birkleyn Reliefs
Birkleyn Reliefs
Birkleyn Reliefs
Birkleyn Reliefs
Birkleyn Reliefs
Birkleyn Reliefs
Birkleyn Reliefs
Birkleyn Reliefs
Birkleyn Reliefs
Birkleyn Reliefs
Birkleyn Reliefs
Birkleyn Reliefs
Birkleyn Reliefs
Birkleyn Reliefs
Birkleyn Reliefs
Birkleyn Reliefs
Birkleyn Reliefs
Birkleyn Reliefs
Birkleyn Reliefs
Birkleyn Reliefs
Birkleyn Reliefs
Birkleyn Reliefs
Birkleyn Reliefs
Birkleyn Reliefs
Birkleyn Reliefs
Birkleyn Reliefs
Birkleyn Reliefs
Birkleyn Reliefs
Birkleyn Reliefs
Birkleyn Reliefs
Birkleyn Reliefs
Birkleyn Reliefs
Birkleyn Reliefs
Birkleyn Reliefs
Birkleyn Reliefs
Birkleyn Reliefs
Birkleyn Reliefs
Birkleyn Reliefs
Birkleyn Reliefs
Birkleyn Reliefs
Birkleyn Reliefs
Birkleyn Reliefs
Birkleyn Reliefs
Birkleyn Reliefs
Birkleyn Reliefs
Birkleyn Reliefs
Birkleyn Reliefs
Birkleyn Reliefs
Birkleyn Reliefs
Birkleyn Reliefs
Birkleyn Reliefs
Birkleyn Reliefs
Birkleyn Reliefs
Birkleyn Reliefs
Birkleyn Reliefs
Birkleyn Reliefs
Birkleyn Reliefs
Birkleyn Reliefs
Birkleyn Reliefs
Birkleyn Reliefs
Birkleyn Reliefs
Search
Collection
Mapping Mesopotamian Monuments (1185)
Media Type
Image (1116)
Panorama (69)
Location
Amadiya (Iraq) (1)
Aradin-Dohuk (Iraq) (23)
Aradin-Duhok (Iraq) (4)
Bavian-Khinnis (Iraq) (4)
Duhok (Iraq) (1)
Eğil (Turkey) (94)
Gisgis (Turkey) (100)
Jerwan (Iraq) (3)
Kartmin (Turkey), Qartmin (Turkey) (130)
Kesentaş (Turkey) (100)
Lice (Turkey) (7)
Mardin (Turkey) (122)
Midyat (Turkey) (108)
near Lice (Turkey) (136)
near Mardin (Turkey) (179)
near Nusaybin (Turkey) (175)
near Yayvantepe (Turkey) (130)
Silvan (Turkey) (77)
Material/Technique
bas-relief (194)
basalt (6)
bronze (1)
limestone (41)
limestone ashlar masonry (3)
limestone outcrop (4)
rock-cut relief (143)
stone (77)
Work Type
architecture (733)
sculpture (440)
Pagination
Current page
1
Page
2
Page
3
Page
4
Page
5
Page
6
Page
7
Next page
››
Last page
Last »